快速开始
Lynx使用前端的方式来开发Android和iOS上的原生应用。由于Vue.js的轻便性,Lynx选择Vue作为前端框架,其中的基础组件都是经过包装后的原生组件。这里已经假设你对Vue有了基本的了解。并按照这里的How To Build安装了应用。下面我们就以Mac开发平台为例,介绍如何在android平台上快速的开发一个HelloWorld。
软件安装
Lynx安装要求: Node.js (>=6.x), npm(3+), Lynx-cli.
$ brew install node
$ npm install -g lynx-cli
新建项目和运行
下面通过lynx-cli来新建一个project
$ lynx init hellow-world
$ cd  hellow-world
$ npm install
打开通过这里编译好的android APP example,把手机连接到电脑,运行
$ lynx build
$ lynx debug android app
项目的结构
项目里src/manifest.json文件,显示了项目的构成。
{
  "application": {
    "packageName": "com.hellow-world",
    "icon": "icon.png",
    "name": "hellow-world",
    "versionCode": "",
    "versionName": "",
    "mainPage": "App.vue",
    "pages": [
      {
        "name": "App.vue"
      }
    ]
  }
}
其中pages配置了组成的页面,页面之间可以通过Navigator来跳转。譬如Navigator.startPage("app")可以跳转到配置文件中的App.vue页面。
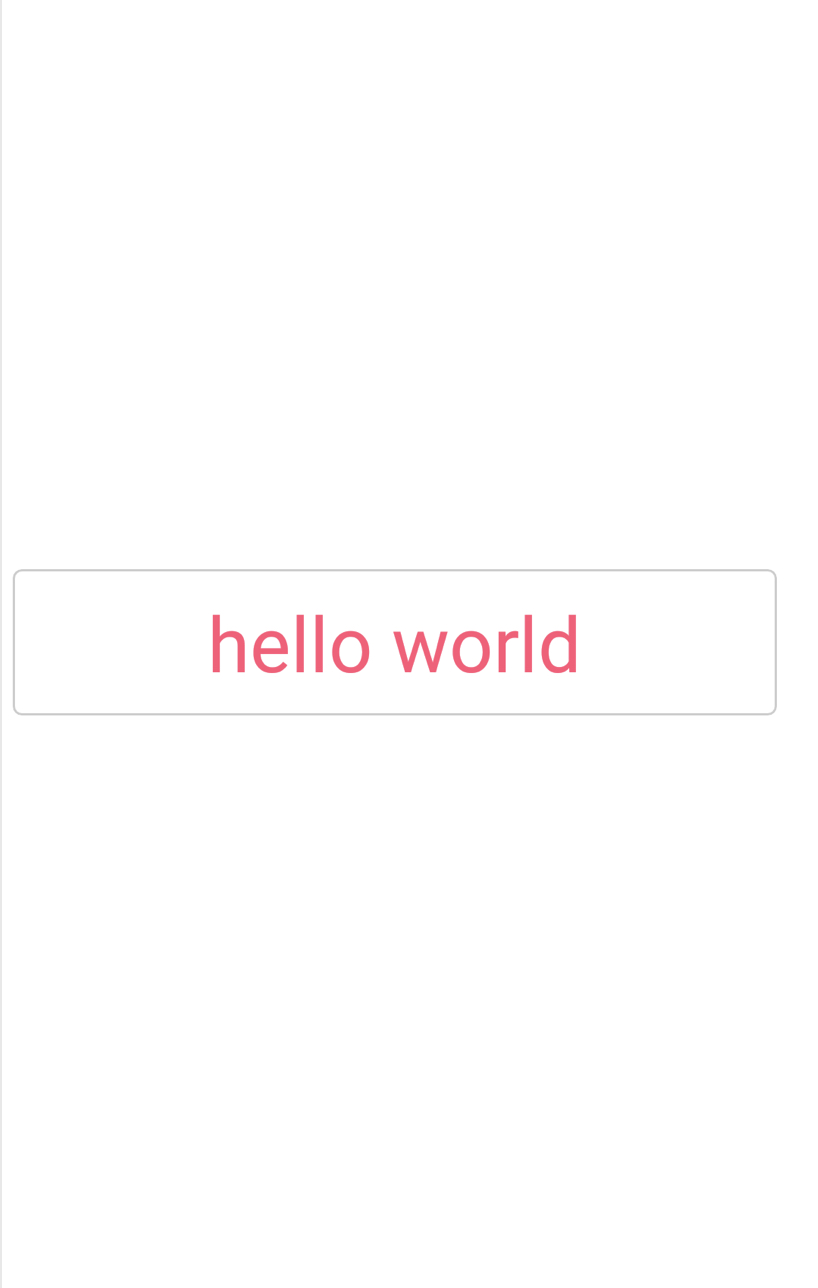
通过src/App.vue我们可以看到,页面主要由Hello组件组成。可以看到components/Hello.vue组件同前端框架Vue的写法类似。
<template>
  <view class="view-container">
    <label class="title">{{hello}}</label>
  </view>
</template>

<script>
export default {
  name: 'show',
  data () {
    return {
      show: true,
      hello:'hello world'
    }
  },
}
</script>

<style>
.title {
  color:#ff5577;
  font-size: 70
}
.view-container {
  width: 700;
  margin-top: 20;
  margin-bottom: 20;
  margin-left: 10;
  margin-right: 10;
  padding-top: 20;
  padding-bottom: 20;
  border-width: 2;
  border-color: #ccc;
  border-radius: 8;
  flex-direction: column;
  justify-content: center;
  align-items: center;
}
</style>
修改data中的hello world,然后运行
$ lynx debug android app
就可以通过hot reload的方式看到运行的结果。
应用生成
开发者根据自己需要生成的平台,添加需要编译打包平台并且执行编译,以Android平台为例。
$ lynx platform add android
$ lynx platform build android
目前应用生成暂时只支持Android,iOS会在后续开放出来。
后续
我们会介绍如何拓展native方法,暴露给前端使用。